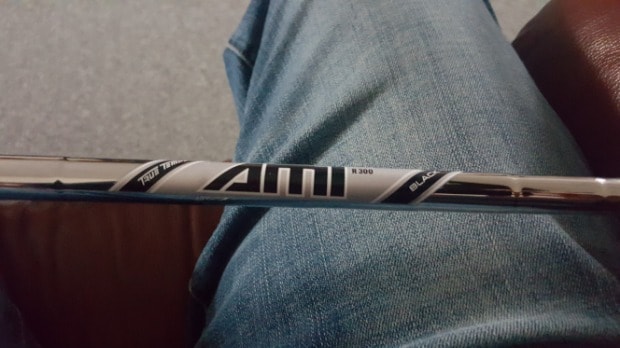
Golf clubs are a prized possession for many golfers, and personalizing them with stickers can add a touch of individuality to an otherwise standard set. However, over time, those stickers can become worn and faded, or you may simply want to remove them for a more polished look. The challenge then becomes how to remove the stickers without damaging the club itself.
Thankfully, there are several methods for safely and effectively removing stickers from golf clubs. In this article, we’ll explore those methods in-depth, covering everything from the risks involved to the tools and techniques needed for a successful removal. By the end, you’ll have all the knowledge you need to safely remove stickers from your golf clubs and keep them looking their best.

Step 1: Choose the Right Tool for the Job
Before you begin, it’s important to choose the right tool for the type of sticker and club surface. There are different types of adhesive removers available, such as rubbing alcohol, Goo Gone, or WD-40. Each type of adhesive remover works differently, and some are more effective than others for certain types of stickers. It’s also important to choose a tool that won’t damage the club surface, such as a plastic scraper or a soft cloth.
Step 2: Apply Heat to the Sticker
Once you’ve chosen your tool, the next step is to apply heat to the sticker. This helps to loosen the adhesive, making it easier to remove the sticker without damaging the club surface. You can use a heat gun or a hair dryer for this step. Be careful not to overheat the sticker or the club surface, as this can cause damage.
Step 3: Gently Peel the Sticker
After applying heat, use a plastic scraper or your fingernail to gently peel the sticker off the club surface. It’s important to be gentle and patient during this step, as forcing the sticker off can cause damage to the club surface. If the sticker is particularly stubborn, you may need to reapply heat and try again.
Step 4: Remove Residue and Clean the Club
Once the sticker is removed, there may be leftover adhesive residue on the club surface. Use an adhesive remover or rubbing alcohol to remove any leftover residue. After removing the residue, clean the club surface with soap and water, and dry it thoroughly.
Tips and Tricks for Removing Stickers from Golf Clubs
- Use a plastic scraper or your fingernail to gently peel the sticker off the club surface.
- Avoid using sharp tools like razor blades, as these can damage the club surface.
- Be patient and take your time, forcing the sticker off can cause damage to the club surface.
- If the sticker is particularly stubborn, reapply heat and try again.
- After removing the sticker and residue, clean the club surface with soap and water, and dry it thoroughly.
Frequently Asked Questions
Can I use rubbing alcohol to remove stickers?
Yes, rubbing alcohol is an effective adhesive remover for most types of stickers. Apply a small amount to a soft cloth and rub gently until the sticker is removed.
Can I use a razor blade to remove stickers?
It’s not recommended to use a razor blade to remove stickers, as this can cause damage to the club surface.
Can I use a hair dryer to apply heat to the sticker?
Yes, a hair dryer is an effective way to apply heat to the sticker. Be careful not to overheat the sticker or the club surface.
Will removing stickers affect the value of my club?
Removing stickers should not affect the value of your club as long as you use proper techniques and tools to avoid damage to the club surface.
Conclusion
Removing stickers from your golf clubs may seem like a daunting task, but with the right tools and techniques, it can be done easily and safely. By following our step-by-step guide, you can ensure that your golf clubs are in top condition and ready for your next round of golf.
