How To Fix A Flat Golf Cart Tire
As a golf cart owner, encountering a flat tire can be a frustrating and inconvenient experience. However, knowing how to handle this common issue is essential to keep your golf cart in optimal condition and ensure a smooth ride on the course. In this comprehensive guide, we will walk you through the step-by-step process of fixing a flat golf cart tire, empowering you with the knowledge and skills to handle this situation effectively.
When a flat tire occurs, it’s important not to panic. With the right tools, materials, and techniques, you can quickly and easily repair the tire and get back on the course in no time. This guide will provide you with detailed instructions, practical tips, and actionable advice to assist you throughout the tire repair process.
From assessing the damage and gathering the necessary tools to removing the flat tire, repairing it, and reassembling the tire onto the wheel hub, we will cover each stage of the process in depth. We will also discuss important considerations such as checking tire pressure, conducting a thorough inspection, and taking preventative measures to avoid future flat tires.
By following the steps outlined in this guide and practicing proper tire maintenance, you can handle flat tires with confidence and ensure a smooth and enjoyable golfing experience. Let’s dive in and learn how to fix a flat golf cart tire, empowering you to keep your golf cart rolling smoothly on the course.

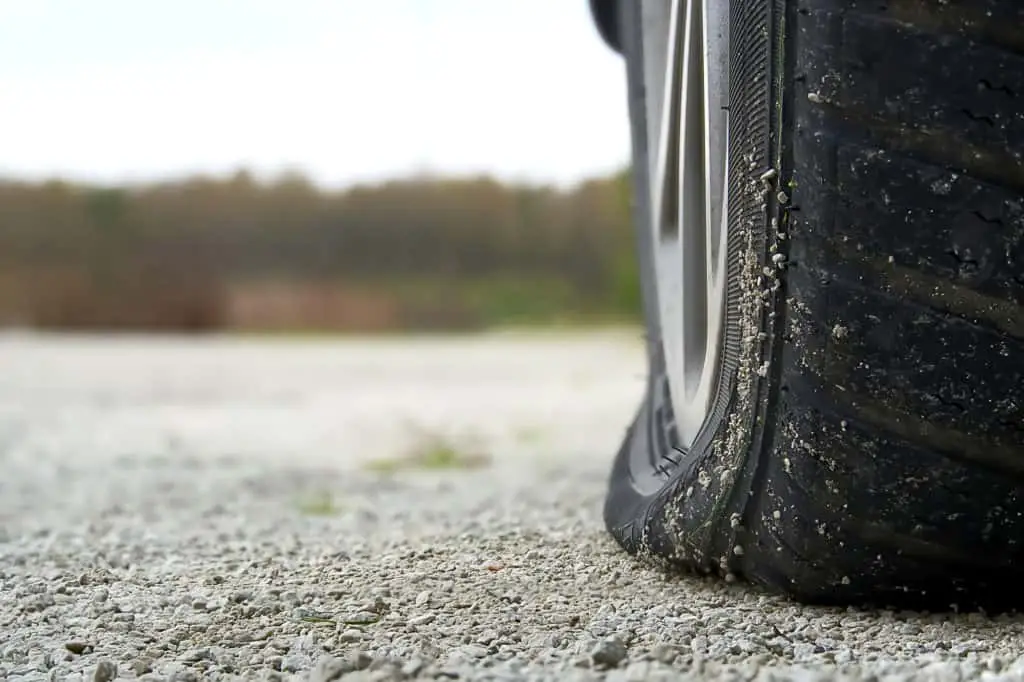
I. Assessing the Damage
Before attempting to fix a flat golf cart tire, it’s essential to assess the extent of the damage. By identifying the location and cause of the flat tire, you can determine the appropriate course of action. We will also discuss how to check for additional damage or punctures and evaluate if the tire is repairable or needs replacement.
II. Gathering the Necessary Tools and Materials
To successfully fix a flat tire, you’ll need the right tools and materials. This section will provide an overview of the essential tools for tire repair and the materials required for patching or plugging the tire. We’ll also emphasize the importance of safety precautions and protective gear to ensure a smooth and secure repair process.
III. Removing the Flat Tire
Before you can fix a flat golf cart tire, you must remove it from the wheel hub. This section will guide you through the process of safely elevating the golf cart, loosening and removing the lug nuts, and taking off the flat tire from the wheel hub.
IV. Repairing the Flat Tire
Once the flat tire is removed, it’s time to repair it. This section will cover two common methods: patching and plugging. We will provide detailed instructions for each technique, including cleaning the puncture area, applying the tire patch and adhesive, ensuring proper bonding and curing, preparing the tire plug, inserting the plug into the puncture, and trimming excess plug material.
V. Reinstalling the Repaired Tire
After successfully fixing the flat tire, it’s crucial to reinstall it properly. This section will explain how to mount the tire onto the wheel hub, secure the lug nuts, and tighten them to the recommended torque. We will also provide guidelines for safely lowering the golf cart to the ground.
VI. Checking Tire Pressure and Inflation
Once the repaired tire is back on the golf cart, it’s essential to check the tire pressure and ensure proper inflation. This section will discuss the use of a tire pressure gauge to measure PSI, adjusting the tire pressure to the recommended levels, and inspecting for any air leaks or deflation issues.
VII. Testing the Repaired Tire
After fixing and inflating the tire, it’s crucial to conduct a thorough test to ensure its performance and stability. This section will guide you on visually inspecting the repaired tire for proper seal and alignment. We will also recommend taking a test drive to verify its performance and monitor the tire for any signs of reoccurring issues.
VIII. Preventative Measures and Maintenance
To minimize the risk of future flat tires, this section will provide practical tips for avoiding flat tires on your golf cart. We’ll discuss regular tire inspections, proper maintenance practices, and the importance of carrying a spare tire or emergency repair kit.
Conclusion
Fixing a flat golf cart tire doesn’t have to be a daunting task. By following the step-by-step instructions outlined in this guide, you can quickly and effectively repair a flat tire on your golf cart. Remember to assess the damage, gather the necessary tools and materials, remove and repair the flat tire, reinstall it correctly, and conduct thorough checks before hitting the course again.
With the knowledge and skills gained from this guide, you’ll be well-equipped to handle flat tires and ensure a smooth golfing experience. Remember, proper maintenance and regular inspections are key to preventing flat tires in the future.
Now that we’ve covered the necessary steps to fix a flat golf cart tire, you can tackle this task with confidence. However, it’s important to note that if you’re uncomfortable or unsure about any step of the process, it’s always best to seek professional assistance.
Stay proactive by regularly inspecting your tires, checking the tire pressure, and addressing any signs of wear or damage promptly. This will help extend the lifespan of your tires and ensure a safer and more enjoyable golfing experience.
Remember, prevention is key when it comes to flat tires. Avoid driving over sharp objects, rough terrains, or areas with potential hazards. Additionally, maintaining proper tire inflation and investing in high-quality tires can significantly reduce the risk of flat tires.
By following the steps outlined in this guide and adopting preventative measures, you’ll be well-prepared to handle flat tires and keep your golf cart rolling smoothly. Don’t let a flat tire dampen your golfing adventures – be prepared, stay proactive, and enjoy the game!
Note: The following sections will provide detailed instructions, additional tips, and troubleshooting advice for each step mentioned above. Stay tuned for a comprehensive breakdown of the tire repair process, complete with practical examples and actionable insights to assist you further.