How To Remove Spikes From Golf Shoes Without Tool

Maintaining optimal traction and stability on the golf course is crucial for every golfer. The spikes on your golf shoes play a vital role in providing the grip needed for those precise swings. However, over time, spikes can wear out, become damaged, or collect dirt and debris, diminishing their effectiveness. While specialized tools are available for spike removal, you may find yourself without them when it’s time to replace or clean your spikes.
But fear not! Removing spikes from your golf shoes without a specialized tool is indeed possible. In this article, we will guide you through the step-by-step process of removing spikes from your golf shoes using everyday household items and alternative tools. Whether you’re facing worn-out spikes, clogged debris, or simply want to upgrade to a different type of spike, we’ve got you covered.
By following our instructions, you’ll not only save time and money but also gain the satisfaction of knowing how to maintain your golf shoes with ease. So, get ready to discover the techniques and tips for removing spikes without a tool, ensuring your golf shoes are always in top shape for your next swing on the fairway. Let’s dive in and take your golf game to the next level!

Can Spikes Be Removed from Golf Shoes without a Tool?
Removing golf shoe spikes without a specialized tool is indeed possible. Although tools designed specifically for this purpose can make the process more convenient, you can achieve successful spike removal with everyday household items and alternative tools. By following the correct techniques, you can save time and money while maintaining your golf shoes in top condition.
Assessing Your Golf Shoes’ Spike Type and Condition
Before attempting to remove the spikes, it’s important to identify the type of spikes on your golf shoes. The two most common types are metal spikes and plastic spikes. Metal spikes offer excellent traction, especially in wet conditions, while plastic spikes are generally more versatile and gentler on the golf course. Assessing the condition of your spikes is also crucial. If they are worn out, damaged, or clogged with debris, it may be time to remove and replace them.
Preparing the Golf Shoes for Spike Removal
Before diving into the spike removal process, it’s essential to prepare your golf shoes adequately. Start by cleaning the shoe’s sole and spikes using a brush or toothbrush. Removing dirt and debris will make the spike removal process smoother. If your spikes are particularly stubborn or have been in place for a long time, consider softening their connection to the shoe by soaking them in warm water for a few minutes.
Method 1: Removing Spikes with Household Items
A. Removing Plastic Spikes
If your golf shoes have plastic spikes, here’s how you can remove them without a specialized tool:
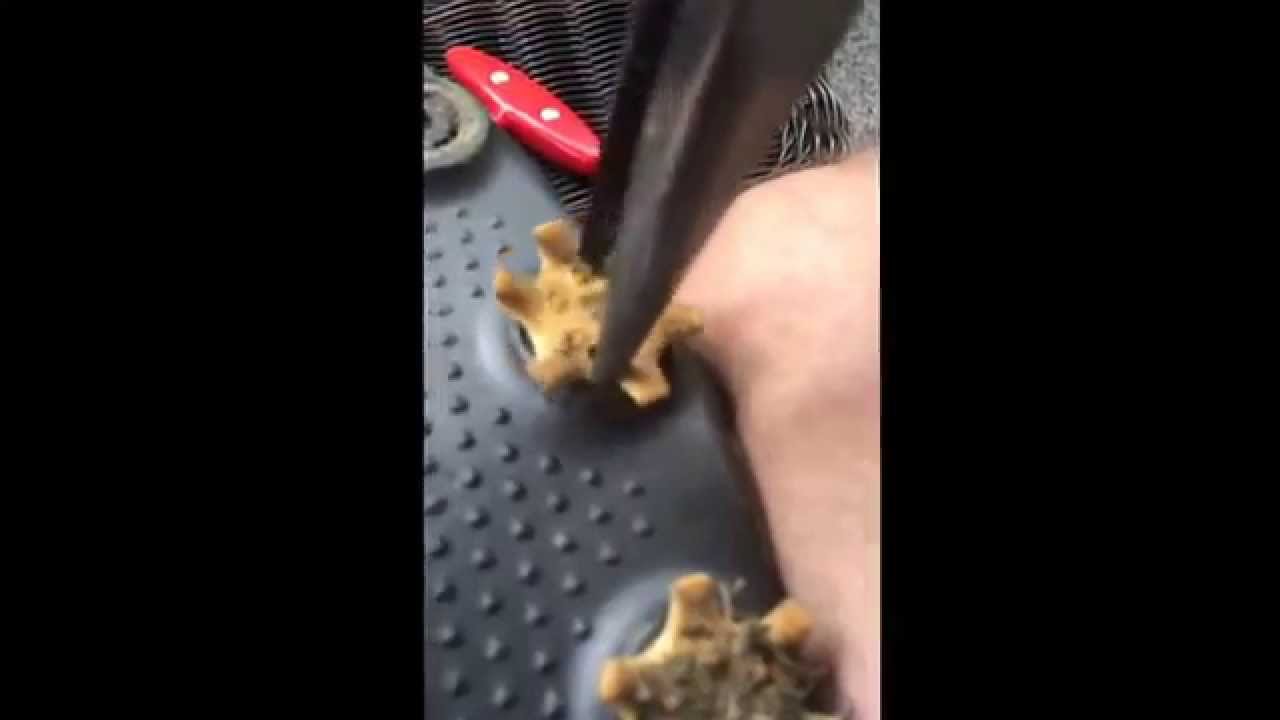
- Using Pliers: Begin by gripping the spike firmly with a pair of pliers. Slowly and steadily twist the spike counterclockwise until it becomes loose enough to remove by hand.
- Leveraging with a Coin or Flathead Screwdriver: Alternatively, you can use a coin or a flathead screwdriver as a lever against the spike. Insert the coin or screwdriver into the base of the spike and apply gentle pressure while turning counterclockwise. This leverage will help loosen the spike for easy removal.
B. Removing Metal Spikes
For golf shoes with metal spikes, the process is slightly different:
- Applying WD-40 or Lubricant: Begin by applying a small amount of WD-40 or any suitable lubricant to the spikes. This will help loosen their grip on the shoe.
- Using Pliers or Wrench: With a pair of pliers or a wrench, grip the spike firmly and twist it counterclockwise. The lubricant will aid in smooth removal. Repeat this process for all the metal spikes.
Remember to exercise caution while using pliers or wrenches to avoid damaging the shoe’s sole or the spike threads.
Method 2: Removing Spikes with Alternative Tools
If you don’t have access to pliers or wrenches, there are alternative tools you can use to remove the spikes from your golf shoes. Here are two options:
A. Using a Pair of Needle-Nose Pliers
- Grasping the Spikes: Take a pair of needle-nose pliers and grip the spikes as close to the base as possible.
- Twisting and Applying Steady Pressure: With a firm grip, twist
the pliers counterclockwise to loosen the spikes. Apply steady pressure if the spikes are stubborn, but be careful not to twist too forcefully and risk damaging the shoe.
B. Employing a Small Adjustable Wrench
- Adjusting the Wrench: Obtain a small adjustable wrench and adjust it to fit the size of the spike head.
- Turning Counterclockwise: With the wrench in position, turn it counterclockwise to loosen and remove the spikes. Adjust the wrench as needed for each spike.
Post-Spike Removal Steps
After successfully removing the spikes from your golf shoes, it’s important to take a few additional steps to ensure the shoe is clean and ready for future use:
- Inspecting the Spike Holes: Examine the spike holes for any debris or damage. Use a small brush or toothpick to remove any dirt or clogs that may hinder the insertion of new spikes.
- Cleaning the Shoe’s Sole and Spike Holes: Using a damp cloth or brush, clean the shoe’s sole thoroughly. Pay particular attention to the spike holes, ensuring they are free from any dirt or debris.
Replacing Spikes without a Tool
Now that you’ve successfully removed the old spikes, it’s time to replace them with new ones. Although specialized tools can make the replacement process easier, it’s still possible to insert the spikes without additional equipment. Here are the steps to follow:
- Aligning the Spike Holes: Match the spike holes on your golf shoe with the corresponding holes on the new spikes. Ensure they are properly aligned before proceeding.
- Inserting the New Spikes: Firmly press each spike into its respective hole until it is snugly in place. Make sure the spikes are inserted evenly, ensuring a balanced grip across the sole of the shoe.
- Tightening the Spikes: Using your fingers or the back of a small spoon, tighten the spikes by turning them clockwise until they are secure but not overtightened. This will provide optimal stability during your golf swings.
Maintenance Tips for Golf Shoes
To prolong the lifespan of your golf shoes and keep them in top condition, consider the following maintenance tips:
- Regular Cleaning: Clean your golf shoes after each round of play. Use a soft brush or cloth to remove dirt, grass, and other debris.
- Inspect Spikes Regularly: Check your spikes regularly for signs of wear or damage. Replace any worn-out or damaged spikes promptly.
- Proper Storage: Store your golf shoes in a cool, dry place to prevent moisture buildup, which can lead to deterioration.
- Avoid Excessive Force: When inserting or removing spikes, apply steady pressure without excessive force to prevent damage to the shoe or spike threads.
By following these maintenance tips, you can extend the lifespan of your golf shoes and ensure optimal performance on the course.
Conclusion:
Removing spikes from your golf shoes without a specialized tool is not only possible but also cost-effective. By utilizing household items or alternative tools, you can easily remove and replace spikes as needed. Remember to assess the spike type and condition, prepare the shoes properly, and follow the appropriate techniques for both plastic and metal spikes. With regular maintenance, your golf shoes will continue to provide the traction and stability required for a great game. So, get ready to hit the course with confidence and comfort!


